Several treatments in the skincare industry claim to improve, tone, and lift your skin. One such solution is the Suzanne Somers FaceMaster, claiming to tone and tighten all of your facial muscles naturally. However, does it work? Read on to find out more details about whether Suzanne Somers FaceMaster is worth the time and the price you pay.
Suzanne Somers FaceMaster: Description and Advantages

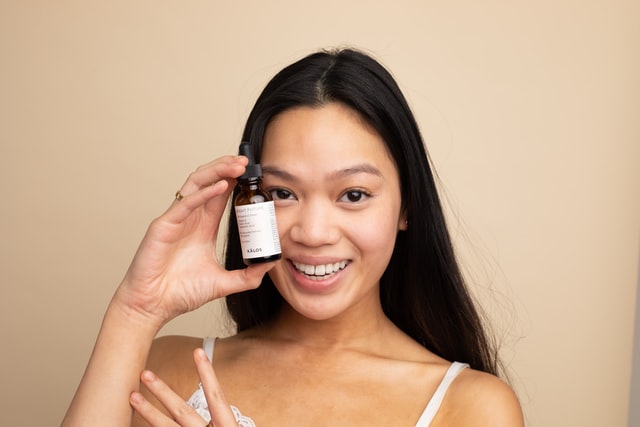
Suzanne Somers FaceMaster is an at-home machine that aims to help smooth out the fine wrinkles on your skin. It is a natural treatment endorsed by celebrity Suzanne Somers that does not use invasive strategies to achieve results.
The kit weighs around 0.5 pounds, making it easy to carry and store. You can purchase the FaceMaster Platinum Facial Toning System to help optimize elastin levels, reduce dark circles, and lift the facial area.
What Does the Kit Include?
The kit includes instruction and usage manuals, foam caps, a battery, hand and finger wands, a DVD, an e-serum, and a conductive serum. The wands are the items that come in contact with and massage your skin, thus stimulating the facial area and further defining your muscles.

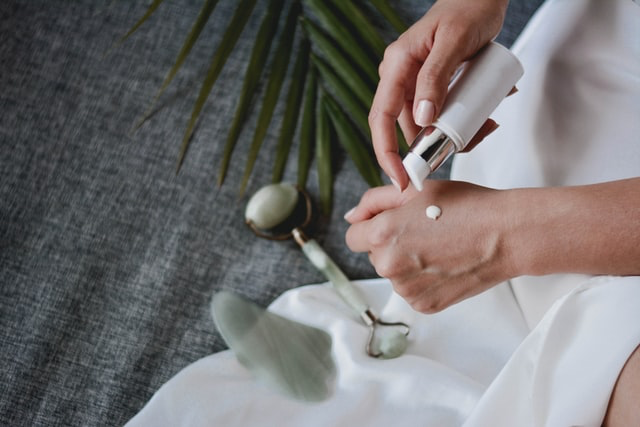
Specially Formulated Serums
The conductive serum prepares your face for better conductivity. It uses botanical extracts that help you feel less or no irritation. It is excellent for improving conductivity since, as any skincare department would say, the serum moistens and moisturizes your epidermis to help conduct small bursts of electricity.
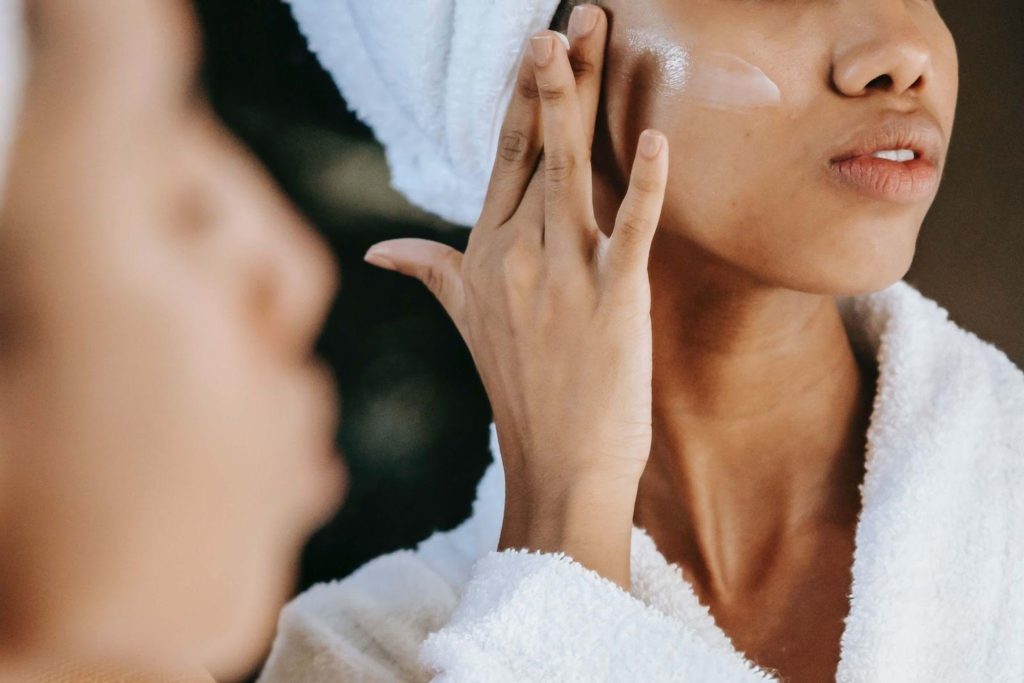
How to Use Suzanne Somers FaceMaster Platinum Facial Toning System?
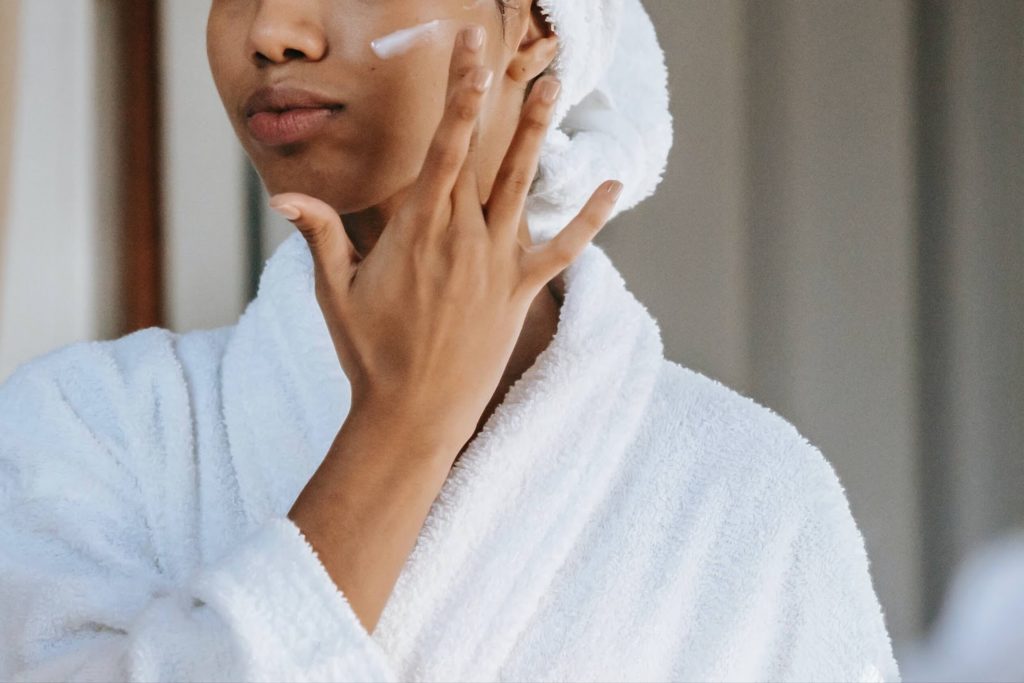
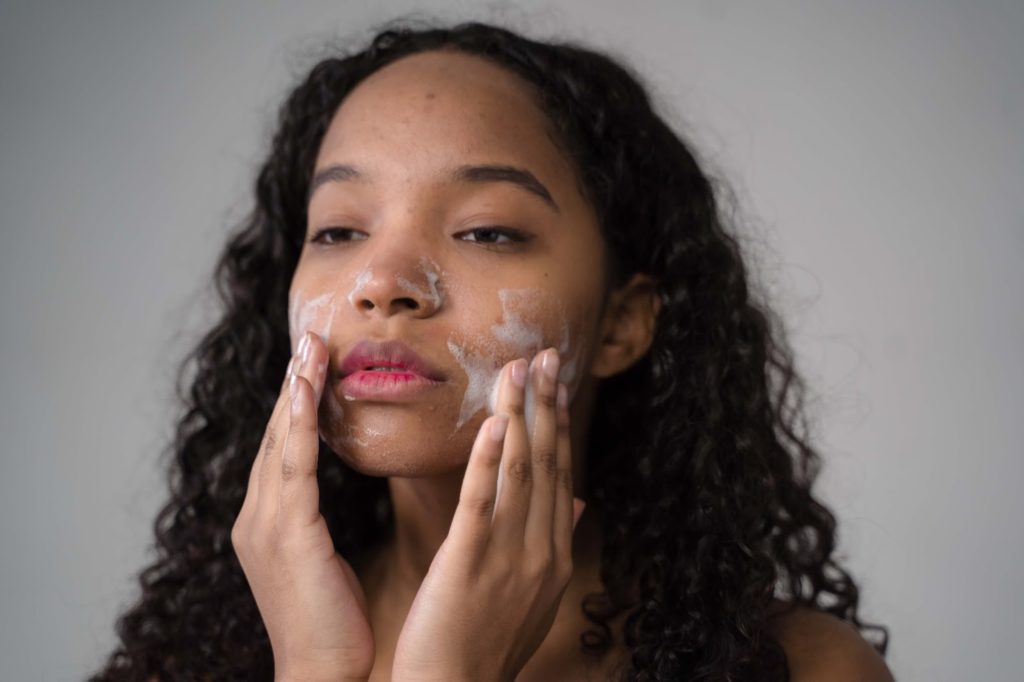
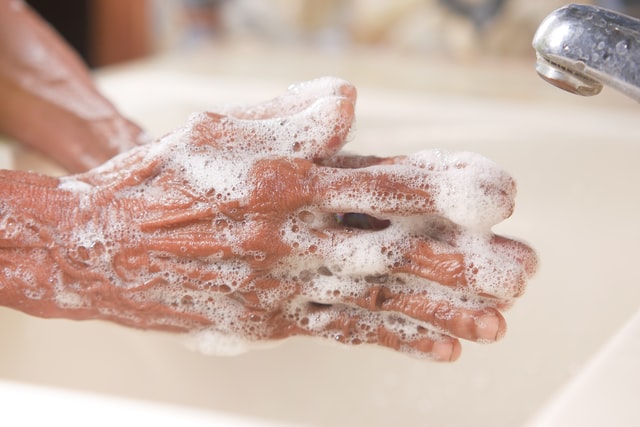
Knowing how to use the machine will be helpful if you are considering purchasing the product. First, complete your regular skincare routine and wash away all the built-up dirt on your epidermis.

Next, use the serum across the areas you want to massage with the machine. The FaceMaster gives instructions on where to rub and how long to massage. According to those instructions, place the wand on your skin’s surface, including each brow, underneath the eye, cheeks, and other areas.
Suzanne Somers FaceMaster: Reviews, Comments, and Recollections
Before adding the item to your cart, let’s look at user reactions to the Suzanne Somers FaceMaster. This section will go through the product reviews and comments on whether the FaceMaster works and its effectiveness in its claims to help tone your facial area. A typical problem that users state with the FaceMaster is that it is time-consuming and pricey compared to other alternatives.
When comparing products such as DermaWand and the FaceMaster Platinum Facial Toning System, those on the FaceMaster side state that the FaceMaster yields result quicker. Some notice that the device helps them look more than a decade younger than their actual age.

Some comments mention a clear difference in how their muscles appear on their face after only a week of using the device. However, the problem is that an equal amount of individuals also claim that it does not work, even after months of usage.
FaceMaster is sold at around $300, and to purchase a Suzanne Somers FaceMaster, you can visit the website and head to the shop to see more details about the device. Log in to your account using the login page and add the device to your cart. Once you have purchased the product in the US, it should be delivered quickly.
Alternative Anti-aging Professional Style Treatments
Several products are available that better protect your epidermis and help you retain younger-looking features other than the Suzanne Somers FaceMaster Facial Toning System.
NuFace Trinity

Given its popularity, NuFace Trinity is often on top of the list when you search for anti-aging solutions. You may have already seen video ads, listings, and reviews for the NuFace Trinity that go into detail about the device. Before you buy or add this item to your cart, let’s compare it to the Suzanne Somers FaceMaster. With helpful comments and reviews from those who have already purchased NuFace Trinity and had the product delivered, we can get a good look into its usefulness.
Sold at around $300, the NuFace Trinity is pricey and requires the regular purchase of the primer. However, according to reviews from people who have purchased the product, the NuFace Trinity is good at giving you a more youthful complexion and reducing marionette lines. In terms of the finer details, the tools help reduce fine lines and the appearance of wrinkles with only 5 minutes per day and five days of usage per week.
Fillers
Fillers can have a noticeable effect on your looks. While you might notice a minute difference in your appearance through the long-term use of the Suzanne Somers FaceMaster Facial Toning System, a filter tends to show instant changes.
Compared to Suzanne Somers FaceMaster, a common problem with fillers is that they are more invasive and painful. It can irritate the epidermis and cause it to appear red and swollen for some time. If you decide to get a filler before going to significant events, leave enough time for it to settle.
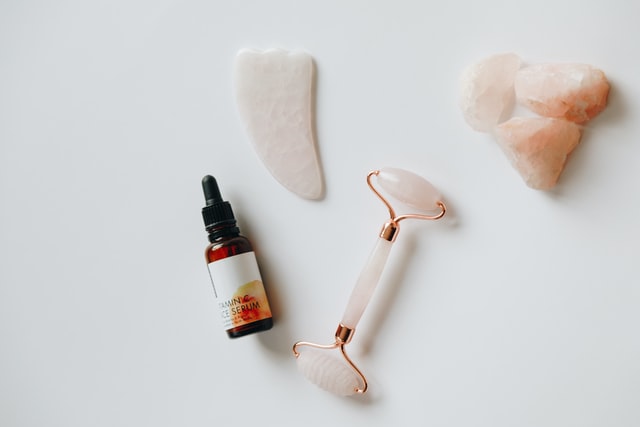
Natural Skincare and Facial Toning Solutions

Are you interested in toning and tightening the skin on your face? Then you may benefit from taking note of alternative treatments, some of which cost less money and requires less equipment. In your search for helpful anti-aging solutions, you may want to consider facial exercises and masks.
Facial Exercises
Whether you are already content with your current skincare routine, facial exercises can change your appearance and help you feel more confident. Facial exercises are practical and natural regardless of whether you have oily, normal skin, or combination skin. You can also save money since you do not need to spend a penny on expensive tools or buy a high-performing skincare machine. With facial exercises, you can empty your cart and gain a free method of enhancing your looks.
You can also perform facial exercises at your convenience or select a face exercise program to join. Anyone is eligible and capable of performing such practices as they are often simple and only require a few minutes each date.
Step-by-Step Process to Enhancing Your Facial Features With Facial Exercises

To help you feel more confident, you can perform facial exercises during events, at home, or at any convenient time and place. You can learn facial exercises quickly and select or change the activity you perform depending on what area you want to enhance.
One facial exercise reduces the impression of lines and wrinkles around your mouth. First, shape your lips into an O shape. You should be able to see the muscles stretching. Next, close your mouth semi-tightly and repeat this movement ten times. Relax, then repeat the process twice. For effective results, perform this exercise once every other day.
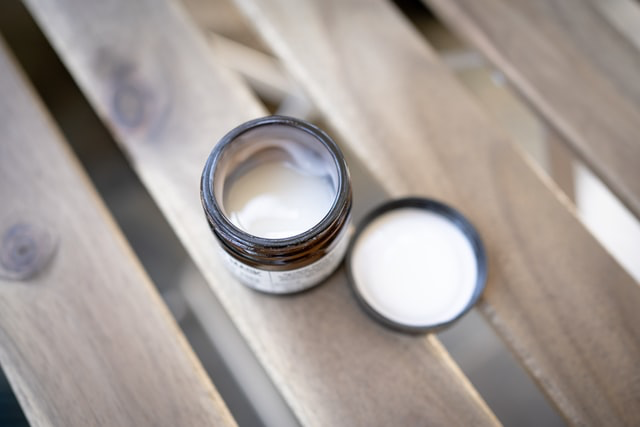
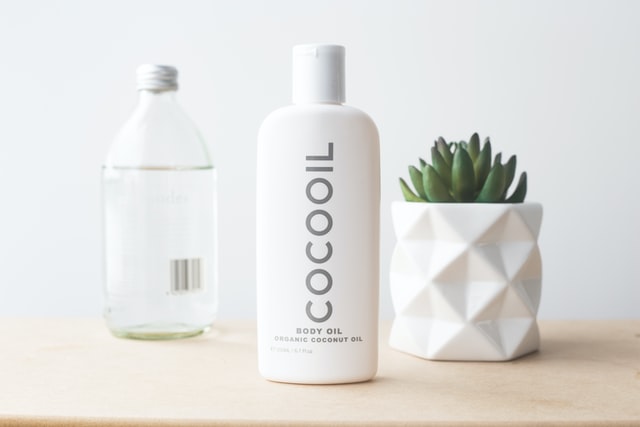
Coconut Oil Masks and Treatments
Compared to the Suzanne Somers FaceMaster, using a natural blend of coconut oil and aloe vera as a mask or cream may be more effective. To review coconut oil masks properly, cleanse your skin and pat it dry. If you do not perform this step, the oil that filters through your epidermis will have more difficulty absorbing. When it comes to the more in-depth details, If you have decided to go with masks as your preferred skincare solution, put them on before leaving for events, and they will give you a shiny and smooth appearance.
Solution
Lifting, toning, and helping your skin look more radiant is a tangible goal; it doesn’t have to cost any money. While the Suzanne Somers FaceMaster Facial Toning System can help enhance your appearance, numerous reviews say facial exercises can prove even more effective. Consider this review a helpful sign to start doing facial exercises daily and watch your looks transform with hard work and consistency.
FAQs
Is the Suzanne Somers FaceMaster a Microcurrent Solution?
The Suzanne Somers FaceMaster uses microcurrents, a relatively new concept that utilizes electricity to stimulate facial muscles. The microcurrent aims to smooth out forehead wrinkles, remove dark circles, and reduce the appearance of crow’s feet.
Does Suzanne Somers FaceMaster Facial Toning System Work?
The Suzanne Somers FaceMaster aims to help you get a tighter and more toned facial area. There is a mixture of reactions to how well the item works. Suzanne claims that you see results almost instantly. However, some users claim that they had to use the machine for weeks/months before seeing a slight improvement in their complexion. How well the device works depends on several factors, including your age and the current state of your skin.
Are Microcurrent Skincare Devices Worth It?
Microcurrent devices can be expensive, depending on the brand. If you have severe acne, you should not use microcurrent treatment. Microcurrent treatment also requires much time and use before it is effective. So if you have the time and are willing to expend the effort, then it can be worth the disadvantages.
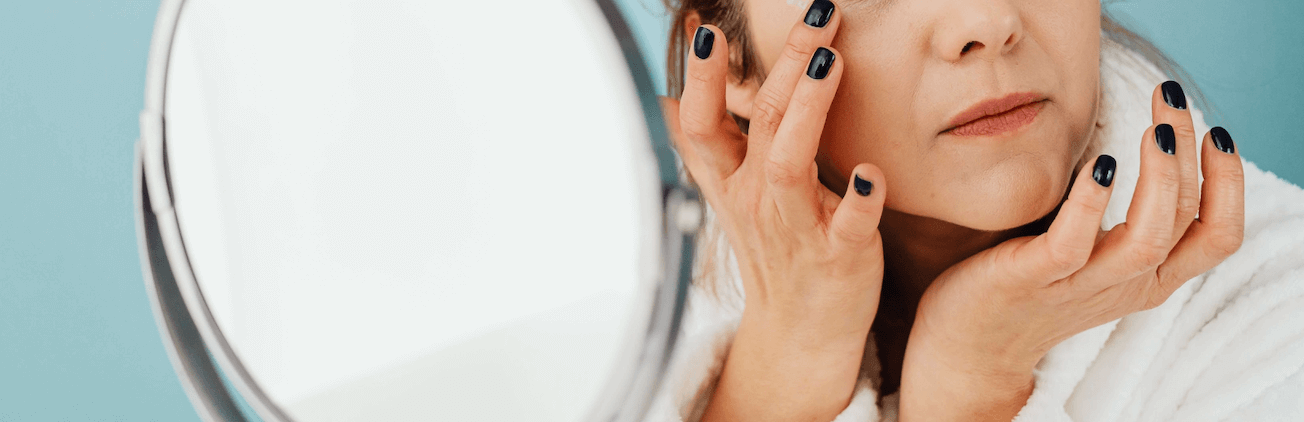
Do Microcurrent Treatments Help Sagging Skin?
Microcurrent treatments are helpful in reducing the impression of sagging skin. With frequent (almost daily) treatment, you can stimulate collagen production and your facial muscles, thus giving you a smoother look around your cheeks, eyes, and neck area.